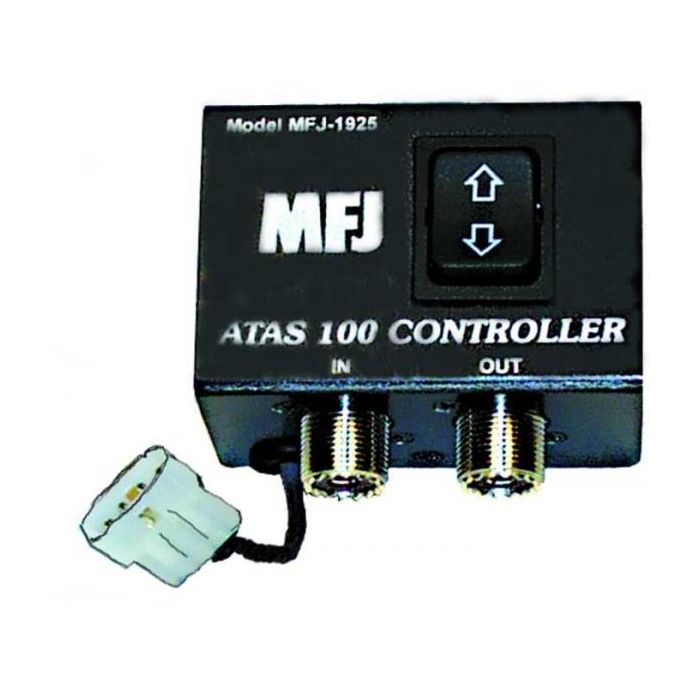
MFJ ATAS antenna controller for most radios
Huntsville:
Las Vegas:
Distribution Center:
Yaesu ATAS Screwdriver Antenna Controller
This small MFJ unit is installed in-line between the antenna and rig. It provides the necessary voltage to move the antenna up or down when controller is pressed accordingly.
The MFJ-1925 is simple to install. No modification to the radio or antenna is necessary. SO-239 connectors for radio and antenna connections. MFJ-1925 has connection for 13.6 VDC power.
The MFJ-1925 is to be used with most other transceivers (not an ICOM IC-706) to tune the Yaesu ATAS antenna. You must connect a +12 vdc power source to the MFJ-1925. Connect +12 Vdc to the red wire and connect Ground to the black wire. Connect the RF output of the transceiver to the Radio connector of the MFJ controller. Connect the ATAS antenna to the ANT connector of the MFJ controller. If your radio does not have an SWR meter, an external SWR meter must be connected between the radio and the MFJ controller. This will allow you to monitor the SWR while tuning the Atas antenna with the MFJ controller.
To tune the antenna set the output power to your radio to 10 watts or less. Put the radio into CW mode. While keying the radio press the Up/Down switch on the MFJ controller until a minimum SWR is reached. Press UP and hold the Up/Down switch to move the antenna UP. Press Down and hold the Up/Down switch on the MFJ controller to move the antenna down. Release the Up/Down switch on the MFJ controller once minimum SWR is obtained.