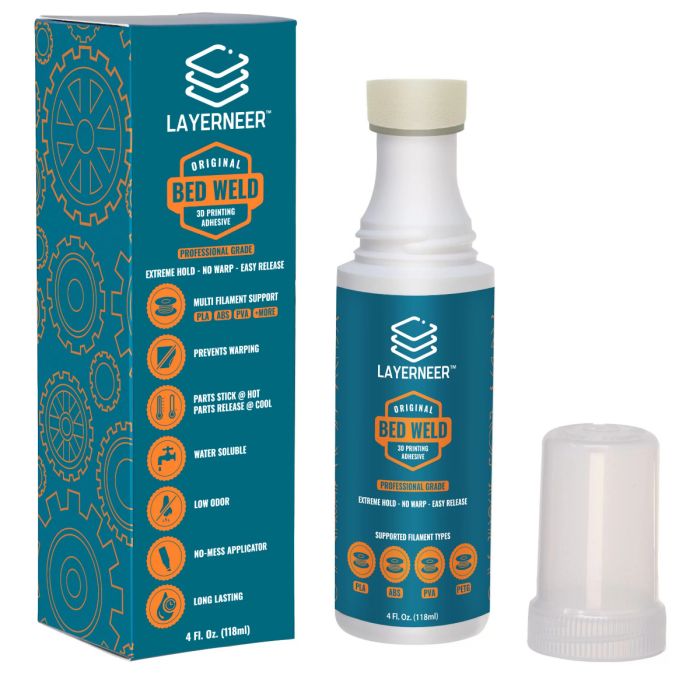
1. SHAKE WELL, and then remove outer cap.
2. Partially compress foam tip down on build plate while gently squeezing the bottle to release some content. Avoid compressing the foam tip all the way, as it may prevent content from coming out.
3. Release downward pressure on foam tip. Then, use the tip to evenly spread a thin even coating to the entire build plate.
4. Heat your build plate to dry the coating. The coating will typically dry during the preheat period before a print starts.
5. Once dry, perform a calibration of your printer bed to account for the coating thickness, and print your part.
6. Print your part.
IMPORTANT: Use the recommended bed printing temperatures for your filament type. Exceeding these temperatures can make the part difficult to remove when cooled.
7. Once the print is complete, let the build plate cool. You may hear crackling and popping sounds as your part begins to release from the build plate. As your build plate nears room temperature your part should be easier to remove. If your part does not detach by itself, or easily by hand, use the edge of a razor blade as a lever to lift a corner or edge. The part will typically pop off with minimal effort.
Note: If your print is difficult to remove, review the FAQs on our support page for easy ways to get it to release.
FAQ
1. What type of printer bed is supported?
BED WELD was initially designed to be applied to glass build plates that support temperatures between 60C and 115C. Since development, additional print surface types have come into the market. Some are compatible while others are not. While glass is our preferred surface type, the surface types below have also been tested:
– Creality Carborundum Coated Glass
– Polypropylene
– Garolite
– *Smooth PEI
– *Kapton Tape
*Note: Some smooth PEI and Kapton tape vendors may not be compatible, or require scuffing the surface with fine grit sandpaper first
If Bed Weld beads up when trying to apply it, or if you experience flaking off when the bed is heated, then the surface not compatible.
Upgrade to a glass surface, or other supported surface type, to experience the full benefits of Bed Weld.
The following surfaces are not compatible:
– Aluminum
– Textured PEI
– Creality Flexible Plastic Magnetic Sheets
2. How much BED WELD should be applied to the build plate?
Apply a thin even coating to the entire build plate. A thin coating is preferred over a thick coating. The thinner the better.
3. What filament types is BED WELD-ORIGINAL designed to work with?
BED WELD has been tested and performs well with PLA, PETG, ABS, ASA, PVA, and CPE. It is “not” recommended for use with Nylon, or PP. We don’t state support for TPU 95A, because we detected some minor corner lifting during some of our adhesion torture test. However, we do have several customers using it for TPU 95A and claim that it works well. If you decide to try it with TPU 95A, let us know what your experience is.
Testing has not been performed on PC, or PET so performance for these filaments are unknown. We will update this list as more testing is performed.
8. You can print multiple times on a single coat. Additionally, you can rejuvenate the coating, which means that you will get many prints out of a single bottle.
To rejuvenate, add some drops of water around the build plate, then use the foam applicator to respread the existing coating around. Reheat to dry and you will be ready to print again.


