Overview
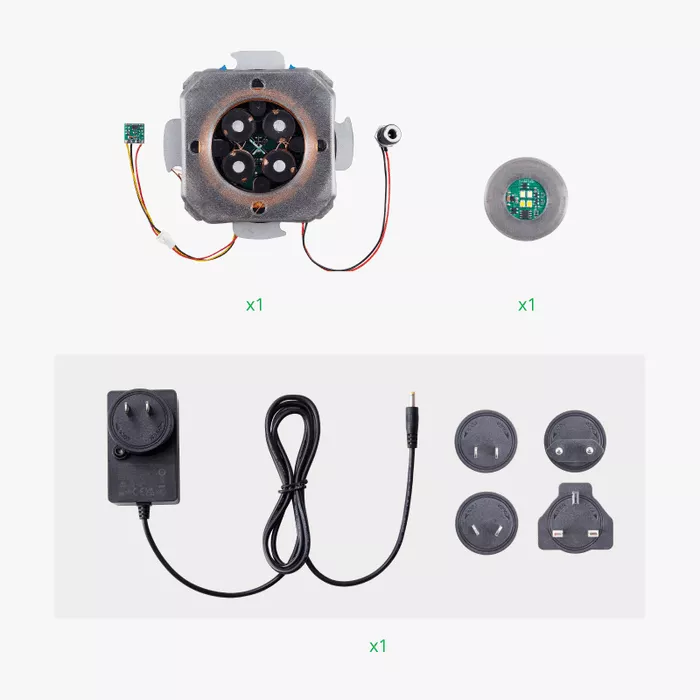
The Magnetic Levitation DIY Kit features an innovative design that uses magnetic technology to make objects float smoothly in mid-air. Consisting of a base, float, and power supply, this kit creates a futuristic, tech-inspired ambiance, perfect for DIY enthusiasts eager to design custom desktop decorations. From floating collectible figures and moon lamps to unique 3D-printed pieces, your imagination is the only limit.
- LED Light Control: External touch switch on base manages float's LED light mode.
- Protective Shell: Comes with 3D-printed shell to prevent initial damage.
- Convenient Power: Electromagnetic induction eliminates the need for batteries. The kit is energy efficient with low standby power.
- Quiet and Stable Levitation: Levitates quietly, maintaining state until unplugged or disturbed.
- Appropriate Load-bearing: The load-bearing capacity can reach 200g, with proper adjustment of center of gravity.
Placement Techniques
Gently and slowly lower the float (or your 3D-printed model with the float) to the center of the base. You will feel changes in magnetic force. If the force pulls in any direction, lift and reposition the model until successful levitation is achieved. If frequent attempts cause the base to overheat, triggering a safety mode, unplug the kit and let it cool for 10-20 minutes before trying again.
LED Control
Control the LED light with the touch switch on the base.The LED features three modes: cold white, warm white, and warm yellow.
PrintMon Maker Edition
Compatible with PrintMon Maker models, this kit also lets you build personalized levitating designs. The PrintMon Maker Edition includes
two bags of steel balls to help balance the weight of your 3D-printed creations, ensuring perfect stability. If your design requires weight adjustments for balance, consider selecting the Magnetic Levitation DIY Kit (PrintMon Maker Edition) when you order.
Considerations
1. Avoid using the kit near individuals with pacemakers.
2. Familiarize yourself with the device’s complexity by thoroughly reviewing the manual. The included 3D Model file features an auxiliary placement bracket for assistance.
3. Use only the included power adapter to prevent damage.
4. Handle the float carefully to avoid damage from impacts. The 3D-printed shell provides initial protection.
5. Gently manage the touch switch connections and wiring to avoid damage.
6. To prevent electrostatic damage, avoid touching the sensitive side of the touch switch.
7. When reinstalling the protective shell, place the coil wires in the notch on the top cover to avoid damage.
8. Do not adjust the blue knob on the mechanism, as this may prevent levitation.
FAQ